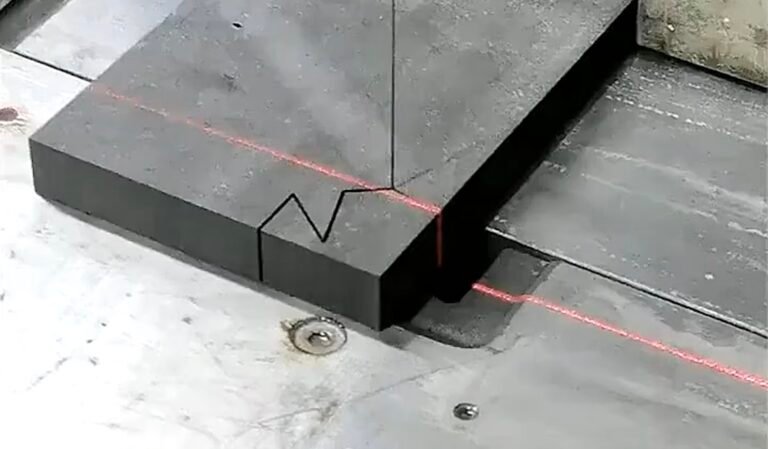
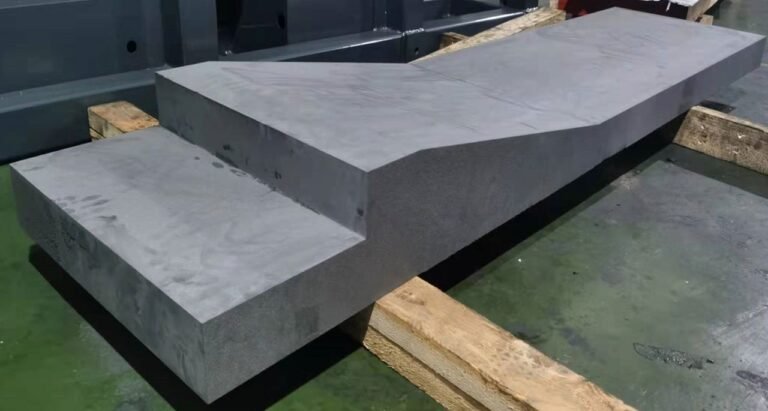
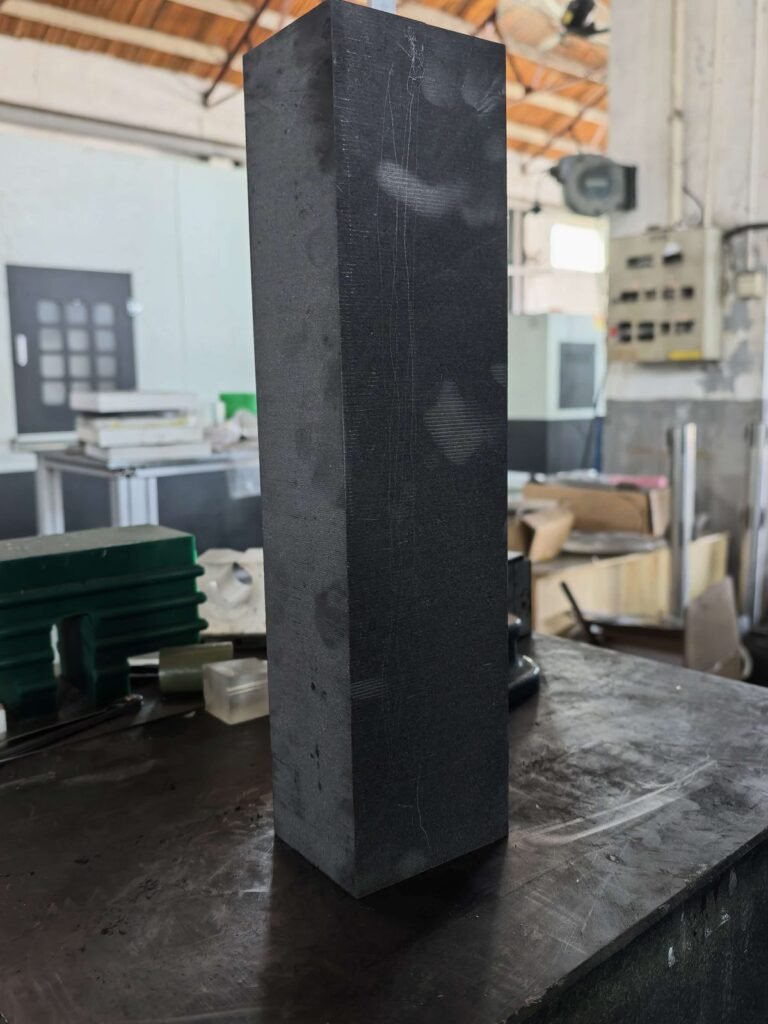
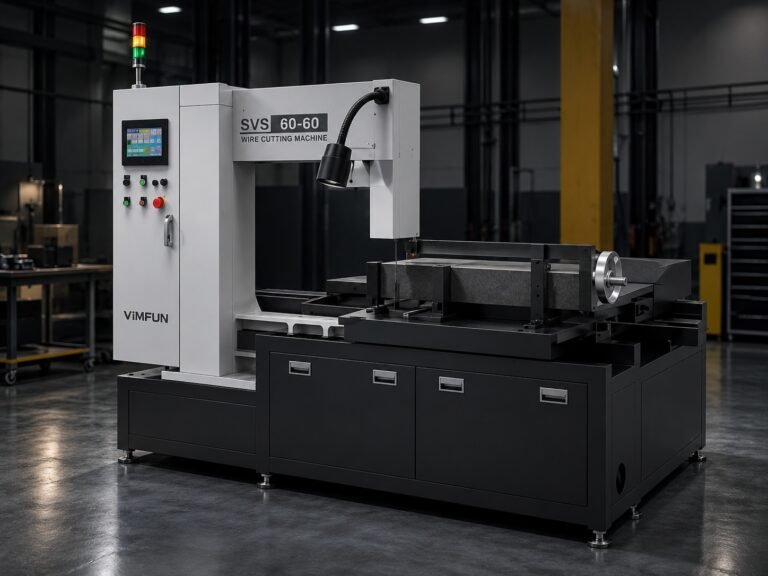
흑연 프로파일 절단 공정은 접근 질문으로 시작됩니다. 선택한 와이어 시스템이 유지되는 부품이 지지된 상태에서 필요한 윤곽에 도달할 수 있습니까? 평면도에서 간단해 보이는 도면에는 내부 개구부, 블라인드 피처 또는 경로를 완전히 변경하는 릴리스 조건이 포함될 수 있습니다.
사이클 타임 추정치를 요청하기 전에 출력물을 절단된 블랭크 또는 완성된 부품으로 정의하십시오. 그것들은 다른 작업입니다. 관통 윤곽 블랭크는 여전히 구멍, 홈, 데이텀 준비 또는 표면 마감이 필요할 수 있습니다.
그만큼 흑연 프로파일 절단 주제 페이지 더 넓은 적용 범위를 설명합니다. 이 기사는 도면 개정부터 검사 기록까지 흑연 프로파일 절단 공정을 다루며, 모든 윤곽이 모든 기계에서 가능한 것은 아니라고 가정하지 않습니다.

흑연 프로파일 절단 공정 출력 정의
들어오는 재고 치수, 절단 형상 및 최종 도면 요구 사항을 분리합니다. 와이어가 생성할 것으로 예상되는 표면과 나중 작업에 속하는 피처를 표시합니다. 절단 표면이 완성된 표면이 아닌 경우 재고 여유를 포함합니다.
제어된 도면 개정을 사용하십시오. 공급업체가 하나의 개요를 검토하는 동안 생산이 다른 모서리 반경을 받는 경우 원래의 타당성 평가는 더 이상 적용되지 않을 수 있습니다. 형상 파일, 도면 및 견적을 개정별로 연결된 상태로 유지하십시오.
작업물을 단순히 미세 흑연으로 설명하는 대신 재료 등급을 식별하십시오. SGL Carbon은 등급별 특성을 구별합니다.. 여기서 실질적인 요구 사항은 재료 식별입니다. 시험은 의도된 주문을 대표하는 재고를 사용해야 합니다.
Also identify the intended datum faces. An outline positioned correctly relative to the stock edge may still be incorrectly positioned relative to the final component datum. The inspection plan should make that distinction explicit.
Check External and Internal Access Separately
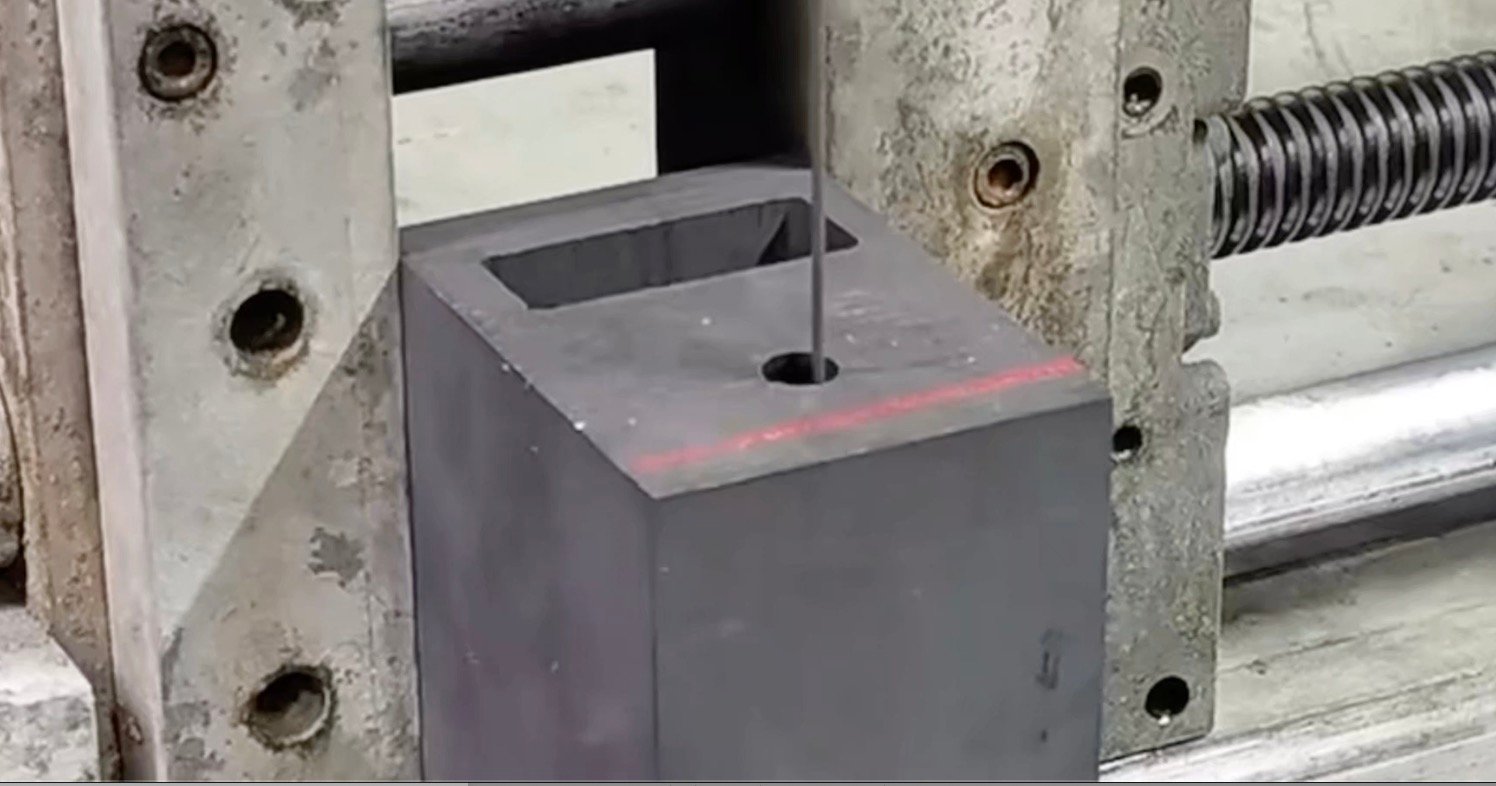
For an external contour, show where the wire enters, where it exits and how the offcut separates. Confirm clearance around the fixture and the orientation of the retained part. A path that is reachable at the start may be obstructed later by a support or loose offcut.
For a closed internal contour, obtain confirmation of the entry and threading arrangement from the equipment supplier. An endless loop does not automatically pass through every pre-existing opening. The actual wire system, joining method where applicable, machine configuration and stock geometry determine feasibility.
Do not use a generic outer-profile photograph to promise an internal feature. Equally, do not infer blind-pocket or arbitrary three-dimensional capability from the phrase CNC wire saw. Specify the requested feature and ask how it will be produced.
Review the outer-profile equipment 그리고 inner-profile equipment as separate starting points. Their existence is not a substitute for drawing-based confirmation.
Preserve Support Through the Cut Sequence
Mark the retained part and scrap region before planning the final separating pass. Determine what restrains both regions when the remaining material connection becomes small. Support must remain effective without obstructing the wire or damaging a surface reserved for finishing.
Avoid describing a thin bridge as safe merely because it survived a previous sample. Its geometry, material and loading conditions matter. Treat the bridge as a feature to evaluate, not as a universal fixture solution.
Plan the order of internal and external contours with the access and support requirements together. There is no universal rule that every internal feature must always be cut first; the selected route must preserve the references and restraint needed by subsequent passes.
A useful graphite profile cutting process sheet includes a simple sequence sketch. Number the passes and identify where the fixture changes. This is easier to review than a path file with no explanation of the physical setup.
Qualify the Graphite Profile Cutting Process Settings
Record wire type and condition, speed, tension, feed, relevant compensation and the program revision. Parameter names and units should match the machine documentation. A setting copied from a block-division test is not a qualified contour setting.
Pay attention to transitions and small features during the sample. Compare what happens on straight sections with the behavior near corners, entry, exit and unsupported regions. If the sample is measured only across its outside rectangle, those local differences may disappear from the report.
When changing a condition, identify what the test is intended to resolve. Compare samples with a controlled difference where practical. Do not attribute an improvement to path compensation if the fixture, material and wire were changed at the same time.
Keep a record of operator interventions. An accepted sample that required unrecorded manual corrections cannot be reproduced from the nominal program alone. It’s the actual process that needs qualifying, not just the file name.
Build the Inspection Plan Around the Contour
Agree how measured geometry will be aligned to the drawing. A free best-fit alignment and a datum-based evaluation can answer different questions. Use the alignment required by the component specification and report it alongside the result.
| 기능 | Suggested review | Record to retain |
|---|---|---|
| Straight and curved outline | Compare the actual contour with the specified geometry | Measurement coverage and alignment |
| 내부 개구부 | Evaluate access-critical and functional regions | Opening identification and local deviations |
| Corner or narrow region | Inspect local form and edge damage | Position-marked observations |
| Through-thickness geometry | Compare relevant sections or faces | Sampling method and face identity |
| Finishing stock | Check the material reserved for later work | Allowance remaining by critical surface |
NIST’s measurement-process guidance covers repeatability and stability. Apply that principle by checking whether the inspection setup gives consistent results before interpreting a small difference as a cutting change.
For the distinction between size, geometry and acceptance conditions, use the high-accuracy graphite cutting guide. Keep this article’s inspection plan specific to contour production.
Video: Graphite slicing and internal contours
Watch on YouTube · Vimfun Endless Diamond Wire Saw
This process montage includes an upright block and an internal contour in round stock. Access, threading and acceptance requirements must still be checked for the actual drawing.
Field Notes: What the Available Test Does and Does Not Prove
The available SVI250-80 graphite bar record is a straight-sided blank trial, not a profile qualification. It used 0.8 mm wire and 42 mm/min feed on one nominal 500 × 87 × 70 mm bar with compensation off.
Its width increased from 87.00 to 87.30 mm along the sample. That documented shortcoming is relevant as an inspection warning: one successful dimension does not establish the whole geometry. It does not establish a contour radius, internal-opening capability or a profile-cutting feed range.
For a new graphite profile cutting process, the corresponding field evidence must come from a representative contour. Include its difficult feature, datum definition, fixture and measurements. Until that evidence exists, use the block record only for the limited metrology lesson it actually supports.
Decide What Must Be Finished After Cutting
List the features that remain after the contour is separated. A blind recess, threaded hole or specified finished surface may still require another machine. Reserve locating surfaces and stock for those operations when laying out the contour.
Choose wire cutting where it can produce a useful accessible blank, and use machining where the feature or final requirement calls for it. Compare that sequence with the alternative of machining the complete shape from larger stock.
The relevant comparison includes setup, consumables, inspection, accepted pieces and downstream work. It is not simply wire feed against spindle feed. The graphite machining alternatives page provides the wider route comparison.
Before releasing a batch, confirm that the finishing team accepts the blank definition. A contour can look correct in a photograph while leaving too little stock at one critical corner to produce the finished part.
Known Limitations / Trade-offs
A graphite profile cutting process qualified for one accessible external contour does not automatically qualify a closed internal opening. Stock thickness, local geometry, support and the wire arrangement may change the result or prevent the route entirely.
Extra support and retained bridges can preserve control but add removal or finishing work. A more generous allowance can reduce blank rejection while consuming material and machining time. Resolve those trade-offs against the finished drawing.
No universal minimum radius, maximum unsupported feature or guaranteed profile tolerance is established by this workflow. Those figures require equipment-specific data and representative testing. The absence of a measured limit should lead to an explicit qualification question, not an invented capability statement.
Prepare the Sample Handover
Label the sample with its orientation and drawing revision before it leaves the cutting area. Attach the critical-feature map and identify which surfaces remain unfinished. The receiving inspector should not have to infer the evaluation direction from a photograph. Keep any provisional acceptance condition visible until the required finishing and final checks are complete.
Questions for the Drawing Review
Is a CAD outline enough to start?
It can start the discussion, but provide material grade, stock dimensions and thickness, datums, final tolerances and the surfaces that will be finished later. The contour file alone usually does not describe the complete manufacturing requirement.
Should I ask for the smallest feature in the first trial?
Include the features that determine feasibility, together with representative support and thickness. A tiny isolated coupon may omit the restraint or access problem found on the real part. Agree a manageable sample that preserves those conditions.
Can an accepted sample become the production program?
Only after the actual setup, conditions, inspection and any interventions have been documented. Review repeated locating and wire condition when the order requires multiple parts. Keep the graphite profile cutting process linked to the drawing revision and accepted sample record.
Send your drawing through our profile-cutting enquiry page. Mark the internal openings, local radii and final-machining surfaces so the review can address the real part.