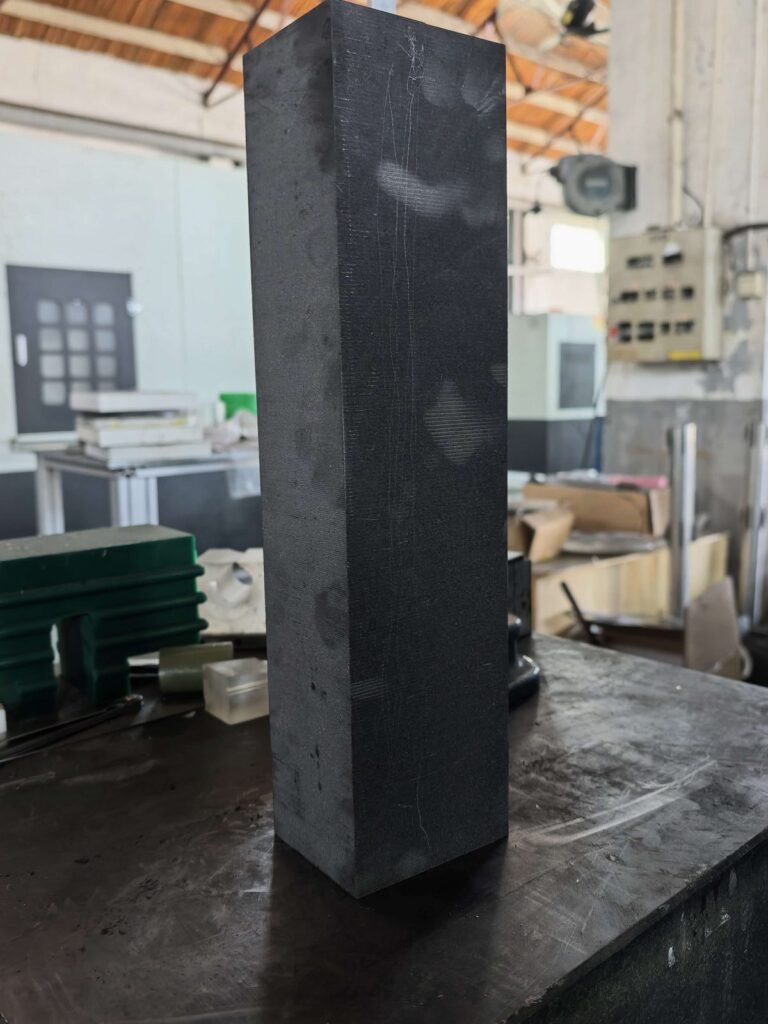
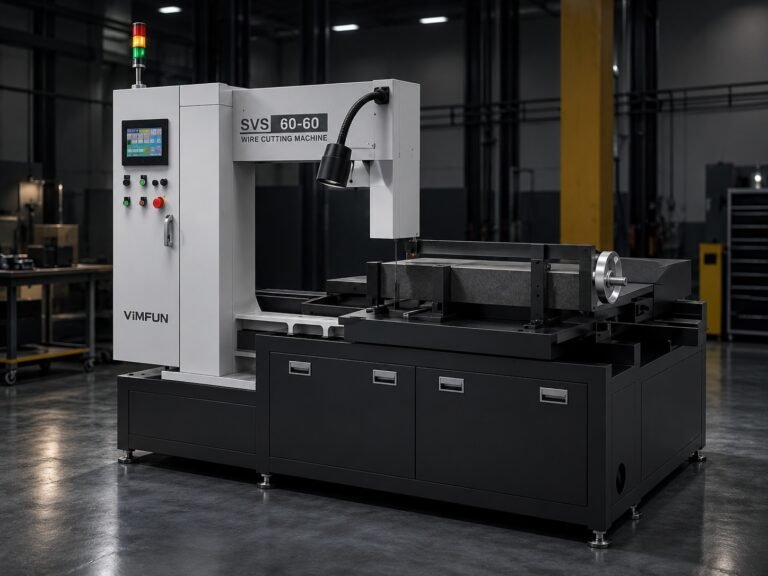
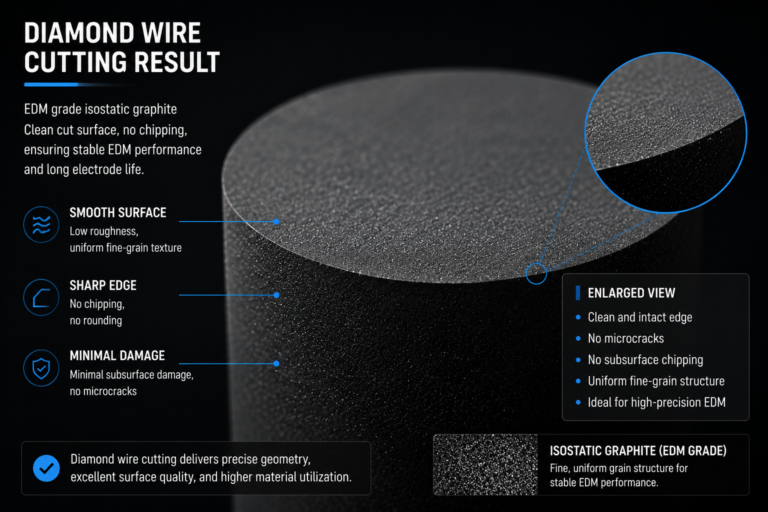
Take a 100 mm cutting length and divide it into nominal 5 mm slices. With an assumed 1.0 mm kerf, the geometry allows 16 complete slices; with an assumed 0.5 mm kerf, it allows 18. That is a geometry example, not a production benchmark, but it shows why the 로우 커프 대 와이드 커프 흑연 decision can change the number of saleable parts recovered from the same block.
It does not prove that the narrower process is cheaper.
Low kerf reduces material removed by each cut. Wide kerf may provide a less sensitive process window on a difficult grade, deep section, or unstable setup. If the low-kerf run adds wire breaks, dimensional rejects, slower feed, or more inspection, the recovered material can be consumed by operating cost. The right comparison is therefore not nominal wire diameter or kerf width alone. It is total cost per accepted part at batch level.
This guide defines that decision boundary. For parameter-level actions, use the guide to reducing kerf loss in graphite cutting. For procurement-level recovery calculations, use the separate graphite material utilization rate analysis.
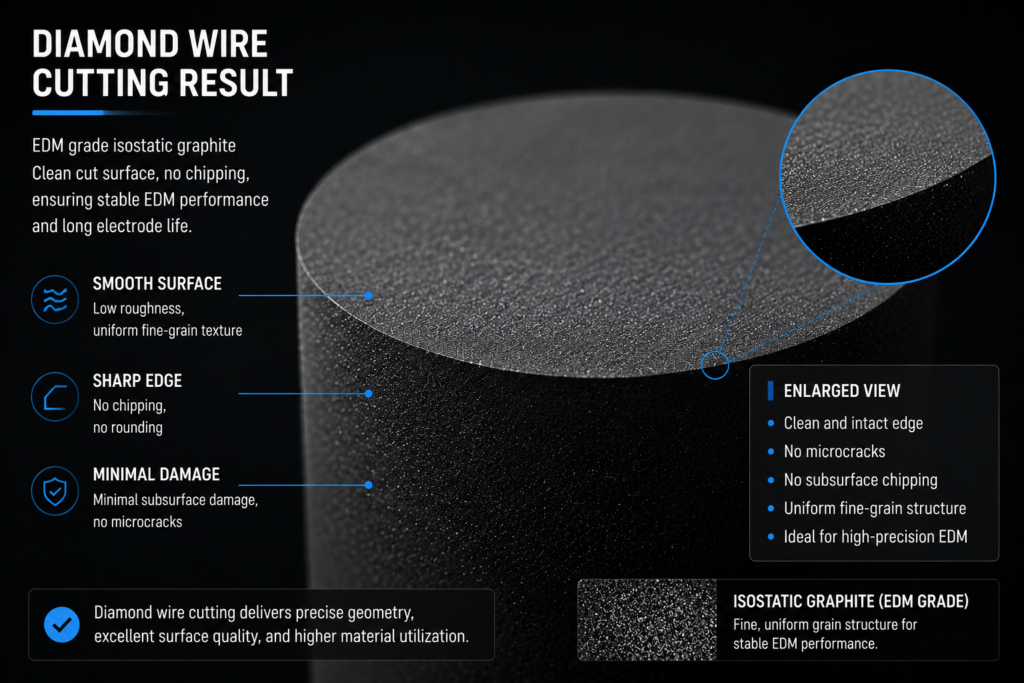
What “Low Kerf” and “Wide Kerf” Actually Mean
Low and wide are relative terms. A kerf is low only when compared with the current qualified process for the same graphite grade, block depth, part geometry, and acceptance criteria. A nominal wire specification is not enough.
The measured cut is normally wider than the wire body because the abrasive envelope, wire motion, runout, debris, and local material removal all contribute to the effective kerf. Experimental diamond-wire studies on other brittle materials have measured kerf beyond the wire envelope and linked the difference to lateral swing and vibration. Those results should not be copied as graphite benchmarks, but the mechanism is relevant: a thinner wire does not guarantee a proportionally narrower production kerf.
For a valid 로우 커프 대 와이드 커프 흑연 comparison, define both processes using the actual kerf distribution across accepted production cuts:
- Mean kerf width
- Kerf variation along the cut
- Kerf drift over wire life
- Dimensional acceptance rate
- Surface condition after cutting
If those five items are missing, the team is comparing tool labels, not production processes.
Low Kerf vs Wide Kerf Graphite: Decision Matrix
| Decision factor | Low-kerf process | Wider-kerf process | What decides the winner |
|---|---|---|---|
| Material removed per cut | Lower when the measured kerf remains stable | Higher by geometry | Actual kerf, not nominal wire diameter |
| Parts recovered per block | Can increase on thin slices or high cut-count layouts | Usually lower on the same layout | Part thickness, cut count, trim, and nesting |
| Process sensitivity | Often more sensitive to deviation and wear | May tolerate a broader operating window | Grade, block depth, fixture, and monitoring capability |
| Dimensional consistency | Strong when the process is qualified | Can be easier to hold in difficult conditions | Batch distribution, not the best individual part |
| Surface and edge condition | Not automatically better | Not automatically worse | Cutting force, vibration, feed, wire condition, and material structure |
| Cycle time | May increase if feed must be reduced | May support a more forgiving production rate | Accepted parts per hour |
| Validation burden | 안정적인 기준선을 대체할 때 더 높음 | 이미 자격을 갖춘 경우 더 낮음 | 시험, 검사 및 공정 승인 비용 |
| 최적의 적합성 | 비싼 등급, 얇은 부품, 반복 배치, 많은 절단 | 프로토타입, 깊은 섹션, 불안정한 형상, 저가 재료 | 수락된 부품당 총 비용 |
이 표는 의도적으로 조건부입니다. “낮은 커프는 재료를 절약합니다”는 절단 수준에서 사실입니다. “낮은 커프는 돈을 절약합니다”는 공정이 수락률과 생산 안정성을 유지한 후에만 사실입니다.
잘못된 결정을 방지하는 비용 모델
유용한 비교에는 네 가지 비용 범주가 있습니다.
- 투입 재료 비용 — 전체 블록 비용을 작업에 할당합니다.
- 절단 비용 — 기계 시간, 노동력, 와이어 소비, 냉각수 또는 먼지 제어 및 설정.
- 품질 비용 — 검사, 재작업, 거부된 부품 및 다운스트림 재고 제거.
- 중단 비용 — 와이어 끊어짐, 재시작 시간, 손실된 절단, 일정 중단 및 반복 자격.
그런 다음 계산합니다.
수락된 부품당 총 비용 = (재료 + 절단 + 품질 + 중단 비용) / 수락된 부품
이 분모가 중요합니다. 부품당 비용은 더 빠른 넓은 커프 공정을 매력적으로 보이게 할 수 있지만 블록당 더 적은 부품을 생산합니다. 재료 회수만으로도 너무 많은 불량품을 생산하는 경우에도 낮은 커프 공정을 매력적으로 보이게 할 수 있습니다. 수락된 부품당 비용은 두 효과를 모두 동일한 결정으로 강제합니다.
비즈니스 사례에 일반적인 “낮은 커프는 20%를 절약합니다”라는 주장을 삽입하지 마십시오. 절약액은 부품 두께, 절단 수, 블록 가격, 측정된 커프 차이, 수락률 및 공정 시간에 따라 달라집니다. 이러한 입력 없이는 백분율은 판매 언어이지 엔지니어링 증거가 아닙니다.
재료 회수 뒤의 산술은 다음을 참조하십시오. graphite material utilization rate. 회수된 재료와 수락된 출력의 차이는 다음을 참조하십시오. 흑연 절단 수율 향상.
낮은 커프가 일반적으로 이길 때
재료 가치와 절단 수가 모두 높을 때 낮은 커프는 가장 강력한 경제적 이점을 갖습니다. 피할 수 있는 커프의 각 분수는 블록 전체에 반복되므로 슬라이스 수가 증가함에 따라 회수 효과가 복합됩니다.
네 가지 조건이 사례를 더 강력하게 만듭니다.
- 흑연 등급이 비쌉니다. 동일한 회수된 부피가 더 많은 재정적 가치를 지닙니다.
- 부품이 얇습니다. 커프는 인접한 부품 사이의 피치에서 더 큰 부분을 차지합니다.
- 생산 실행이 반복됩니다. 자격 비용은 많은 수락된 부품에 분산될 수 있습니다.
- 공정을 측정할 수 있습니다. 팀은 첫 번째 조각 결과에 의존하는 대신 커프 드리프트, 치수 분포, 와이어 상태 및 불량품을 추적할 수 있습니다.
이러한 조건 하에서 낮은 커프 옵션은 회수 및 인도된 부품 비용을 모두 개선할 수 있습니다. 또한 더 많은 레이아웃 유연성을 제공합니다. 회수된 재료는 쓸모없는 나머지 대신 또 다른 완전한 부품이 될 수 있습니다.
그러나 어려운 조건이 있습니다. 이득은 전체 배치에서 살아남아야 합니다. 넓어지는 것, 드리프트 또는 반복적인 중단으로 이어지는 좁은 첫 번째 절단은 자격을 갖춘 낮은 커프 공정이 아닙니다. 시험 결과입니다.
공정 특성 및 실패 모드는 다음에서 다룹니다. 얇은 톱날 흑연 슬라이싱. 이 비교 페이지는 실제 등급 및 형상에 대해 자격을 갖추어야 하는 장력, 속도 또는 공급 설정을 규정하지 않습니다.
더 넓은 커프가 더 나은 비즈니스 선택일 때
가장 좁은 절단을 쫓는 것이 잘못된 목표인 작업이 있습니다.
더 넓은 자격을 갖춘 공정은 일회성 프로토타입, 긴 지지되지 않은 와이어 스팬의 깊은 절단, 경로를 통해 참여가 변경되는 불규칙한 섹션 또는 좁은 공정에서 불안정한 가장자리 또는 파편 동작을 생성하는 흑연 등급에 더 나은 선택이 될 수 있습니다. 재료 페널티는 눈에 띕니다. 안정성 이점은 덜 눈에 띌 수 있지만 폐기된 부품과 생산 중단을 방지하는 데는 실질적입니다.
완성된 형상이 커프에 비해 두꺼울 때 넓은 커프도 의미가 있습니다. 커프가 부품 피치의 작은 부분이고 블록이 저가인 경우 최대 회수 가능한 재료가 새로운 검증 프로그램을 정당화하지 못할 수 있습니다. 조달은 연간 절약액이 자격 및 제어 비용보다 적은 공정 변경을 강제해서는 안 됩니다.
이것이 엔지니어링 입장입니다. 기계가 한 번 생산할 수 있는 가장 좁은 커프가 아니라 필요한 배치 수락률에서 안정적으로 유지되는 가장 좁은 커프를 사용하십시오.
그 문구가 중요합니다. 두 극단을 거부합니다. 넓은 공정은 익숙하다는 이유만으로 보호되어서는 안 되며, 좁은 공정은 샘플 하나가 좋아 보인다는 이유만으로 승인되어서는 안 됩니다.
표면 품질 및 안정성: 숨겨진 절충
커프 너비와 표면 품질은 공정 안정성을 통해 관련이 있지만 동일한 측정 기준은 아닙니다. 좁은 절단에도 물결, 톱 자국, 가장자리 손상 또는 치수 테이퍼가 포함될 수 있습니다. 움직임과 파편 제거가 제어되면 더 넓은 절단도 허용 가능한 표면을 생성할 수 있습니다.
취성 재료에 대한 출판된 다이아몬드 와이어 연구는 두 가지 유용한 메커니즘을 지원합니다. 첫째, 측면 와이어 움직임은 실제 커프를 연마 봉투보다 더 넓게 만들 수 있습니다. 둘째, 절단 매개변수와 진동은 절단력, 물결 및 표면 상태에 영향을 미칩니다. 다음의 실험 연구를 참조하십시오. 와이어 움직임 및 커프 형성 그리고 sawing force and surface quality. These papers concern NdFeB and other brittle materials, not a graphite production benchmark; they support the mechanism, not a transferable parameter recipe.
For graphite, the decision must be based on job-specific inspection. At minimum, compare accepted dimensions, kerf distribution, cut-face condition, edge integrity, and downstream stock removal. If the low-kerf route needs more grinding or lapping to reach the drawing, the cutting-stage material gain has been partly moved downstream rather than eliminated.
How to Run a Fair A/B Qualification
Do not compare a tuned wide-kerf baseline with an unqualified low-kerf trial and call the result final. Use the same graphite grade, block orientation, target geometry, inspection method, and acceptance criteria for both routes.
Record these outputs:
| 출력 | Why it belongs in the decision |
|---|---|
| Accepted parts per input block | Captures recovery and rejects together |
| Mean kerf and kerf variation | Separates nominal width from real stability |
| Accepted parts per production hour | Captures feed, interruptions, and rework |
| Wire use and unplanned stops | Exposes operating penalties |
| Surface and dimensional rejects | Prevents material recovery from hiding quality loss |
| Downstream stock removal | Shows whether damage was moved to grinding or finishing |
Run enough cuts to expose drift. A short demonstration can show capability; it cannot establish batch stability. The comparison should include the beginning, middle, and end of the intended wire-use interval.
Keep the test as a decision trial, not an open-ended optimization project. If the low-kerf route cannot meet the agreed acceptance rate within the qualification window, retain the stable process and document what blocked the change. The separate kerf loss reduction guide covers corrective process work.
A Practical Selection Rule
Use low kerf when the recovered material value is high, the cut count is high, the geometry is repeatable, and batch evidence shows stable acceptance. Use a wider kerf when process risk, validation burden, or reject cost exceeds the recoverable material value.
For a purchasing decision, ask the supplier for four numbers on the same job: measured kerf distribution, accepted parts per block, accepted parts per hour, and reject rate. A quote that provides only nominal wire diameter cannot support a 로우 커프 대 와이드 커프 흑연 decision.
For the broader cost logic behind the cluster, read low-kerf graphite cutting. It explains why kerf is a major controllable material-loss variable; this page provides the final selection test between a narrower and wider qualified process.
If you are comparing two cutting routes for a specific graphite block, contact our engineering team with the grade, block dimensions, finished-part dimensions, expected quantity, and acceptance criteria. We can structure the comparison around recoverable parts and production risk instead of a generic saving percentage.
자주 묻는 질문
Is low kerf always cheaper for graphite cutting?
No. Low kerf removes less material per cut, but the total result depends on acceptance rate, cycle time, wire consumption, interruptions, inspection, and rework. Compare total cost per accepted part, not material loss alone.
How should low kerf and wide kerf be defined?
Define them relative to two qualified processes on the same graphite grade and geometry. Use measured kerf distributions rather than nominal wire diameters. “Low” and “wide” have no useful universal threshold across all grades, depths, and part shapes.
When does low kerf create the largest benefit?
The case is strongest for expensive graphite, thin parts, high cut counts, and repeat production. In those jobs, small reductions in measured kerf repeat across many cuts and can recover additional complete parts from each block.
Can a wider kerf produce better quality?
It can provide a more stable result in some difficult applications, but width alone does not determine quality. Wire motion, cutting force, debris removal, grade structure, block depth, and process control determine the final surface and dimensions.
What data should a supplier provide for the comparison?
Ask for measured kerf mean and variation, accepted parts per block, accepted parts per production hour, reject rate, wire use, unplanned stops, and downstream finishing allowance. Those data expose whether material recovery survives the production process.