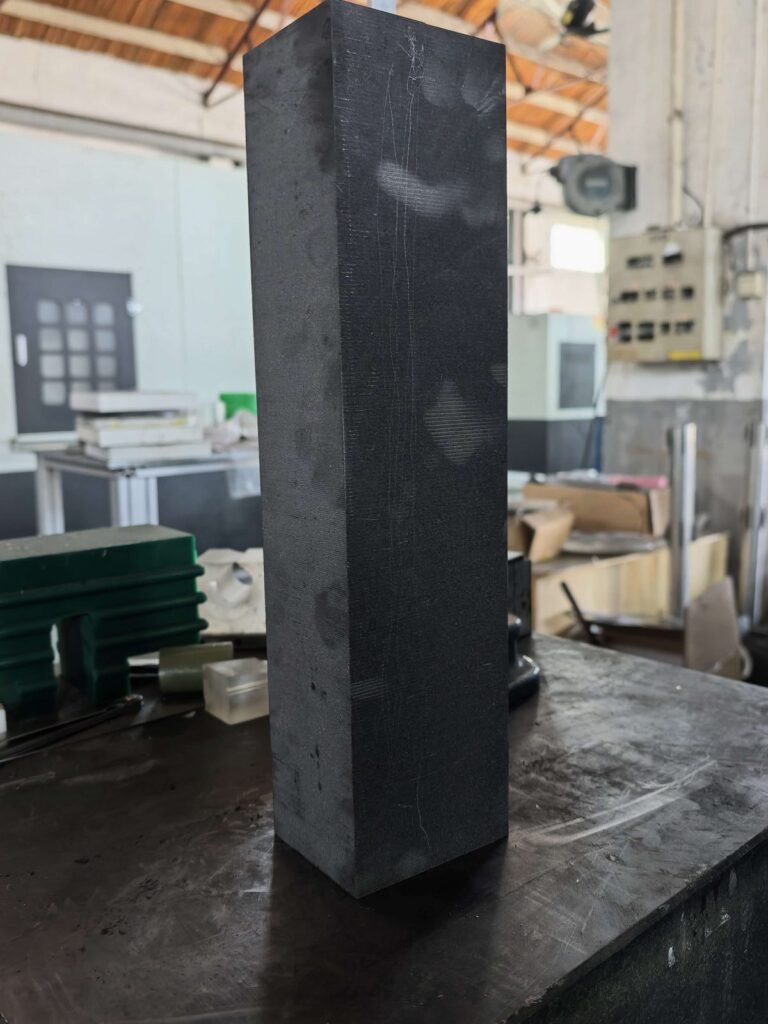
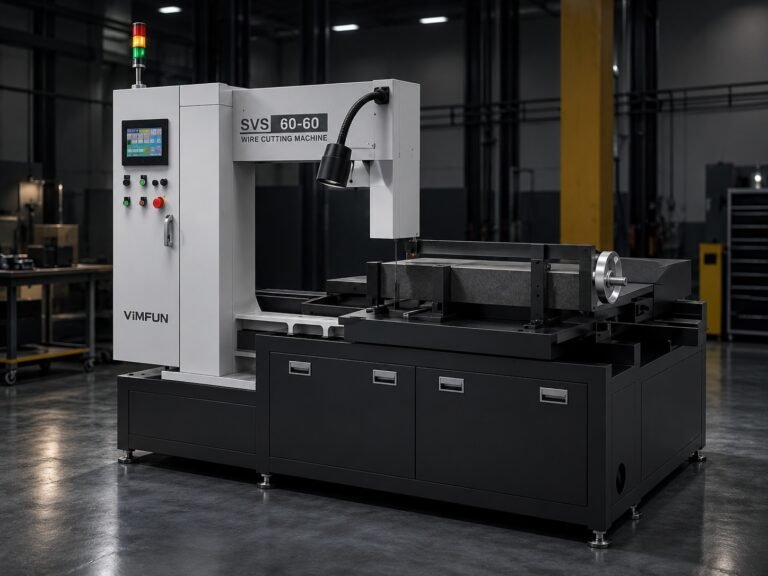
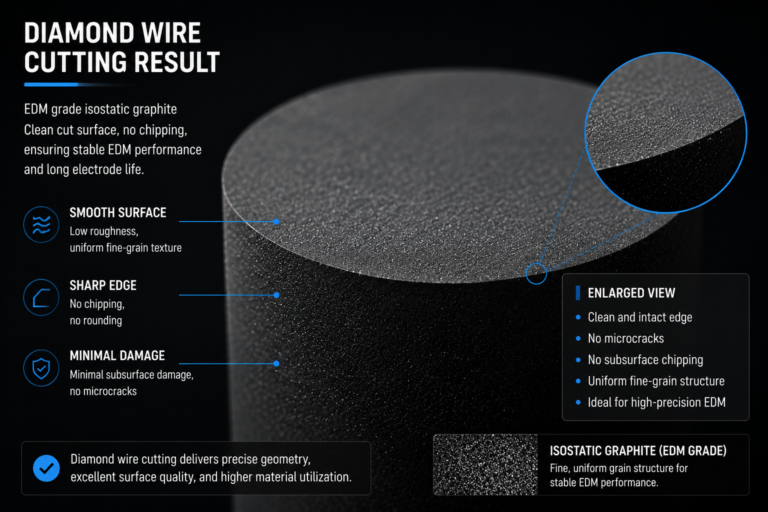
A block of isostatic graphite is quoted, cut, and delivered as finished parts — and somewhere between the block invoice and the finished part inventory, a meaningful share of the material becomes kerf dust, trim, and offcuts. That gap is the graphite material utilization rate, and it is often invisible to procurement because the cost sits on the operations budget line, not the material line. It looks like a process problem. It behaves like a purchasing problem.
This page is written for the procurement side of the decision, not the operator side. It covers how utilization rate is actually defined, why the same “utilization” number can mean very different things in a quote, and how to weigh utilization pressure across grades of different value. If you are looking for how to reduce kerf on the operator side, see 흑연 절단 시 커프 손실을 줄이는 방법.
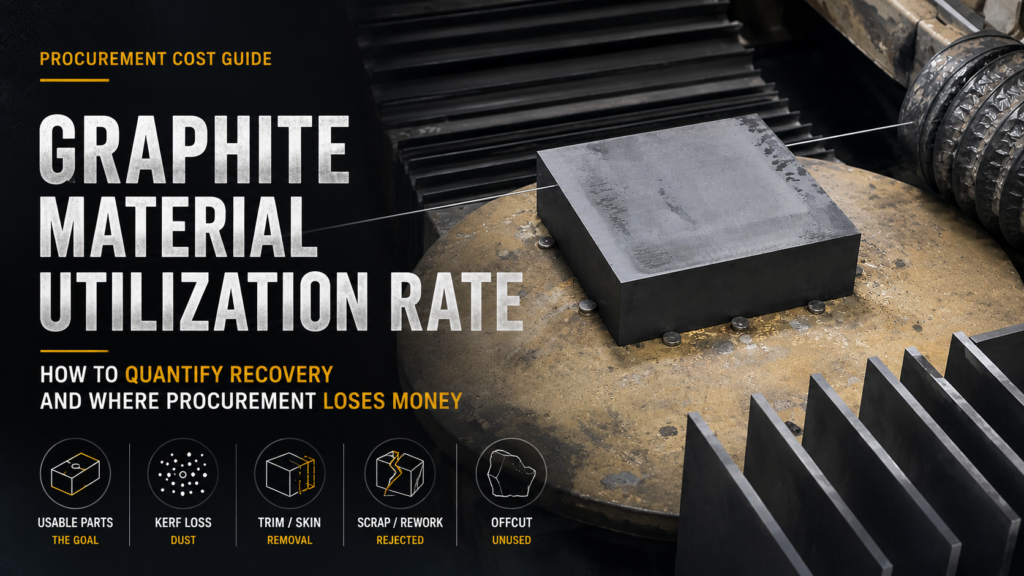
What Graphite Material Utilization Rate Actually Measures
Material utilization rate = (mass or volume of usable parts) ÷ (mass or volume of the input block). Simple in definition, inconsistent in practice.
The number a supplier quotes and the number your finance team sees are frequently different, because there is no universal standard on how to count three edge cases:
- Trim allowance — the outer skin of a graphite block that gets removed to reach dimensional or grain-orientation specification. Some quotes count this as “input consumed,” others count it as pre-cutting waste (excluded from the utilization calculation entirely).
- Kerf loss — the material turned into dust by each cut. This is usually the largest single loss category in slicing operations and the one that a low-kerf process directly reduces.
- Rework and scrap — parts that fail dimensional or surface inspection. Some suppliers report utilization based on “cut” output; others report based on “shipped” output after QC rejection.
A graphite material utilization rate that excludes trim and counts cut output is not comparable to a number that includes trim and counts shipped output. The second number represents materially more actual recovery for the same headline percentage. If your quotes come from different suppliers with different definitions, the “better” utilization number may be worse in real material terms.
For procurement, the practical rule: ask suppliers to define utilization on the same basis before comparing. Two quotes on the same nominal percentage can differ significantly once the definitions are aligned, and a lower headline number on a stricter definition often beats a higher headline number on a looser one.
Where the Material Actually Goes
Material loss on a graphite cutting job falls into four categories:
- Kerf — the width of each cut, turned into dust
- Trim / skin removal — the outer layer of the block removed to reach specification
- Rework and scrap — parts rejected at QC
- Handling and offcut — end pieces, jig contact zones, non-productive cuts
The relative share of each depends on grade, geometry, and process control. In slicing operations with high cut counts, kerf usually dominates because a block being sliced into many parts eats kerf many times. A block being sliced into 30 parts eats kerf 29 times; a block being sliced into 100 parts eats kerf 99 times. This is the arithmetic reason graphite material utilization rate is more sensitive to kerf width than to any other single variable when the part count is high, and why the cost impact of kerf reduction compounds on high-volume runs.
Trim and skin removal are grade-dependent, not process-dependent. Grades that require specific grain alignment or tight microstructure control often need more aggressive skin removal to reach specification. This is a fixed cost of using premium grades, not something a better cutting process can recover.
Rework and scrap losses tell you about process control, not material. Blocks with high rework losses usually have kerf loss under control but dimensional consistency out of control — see 흑연 절단 수율 향상 for the yield side of the equation.
How Configuration Changes the Math
Graphite material utilization rate is not a property of the graphite. It is a property of the cutting configuration applied to that graphite. The same block cut two different ways produces materially different recovery numbers.
The dominant driver is the ratio of kerf width to part thickness. A 1.0 mm kerf against a 20 mm part is a 5% loss per cut. The same kerf against a 5 mm part is a 20% loss per cut — four times the proportional loss for the same physical kerf. This is why utilization drops sharply on thin-part production: kerf is a fixed cost per cut, and part thickness is the variable it competes against.
For thin-part production, moving to 얇은 톱날 흑연 슬라이싱 is often the largest available utilization gain, provided the grade and geometry support it. The gain is not universal — thin kerf slicing on coarse-grain grades or very deep blocks can produce worse utilization than standard kerf because parameter sensitivity increases rework and scrap.
For complex geometries — mixed contour cutting plus straight slicing — straight utilization rate can mislead. A contour cut that produces a curved offcut consumes more material than a straight slice, but that offcut may be usable input for a smaller downstream part. Some operations track “primary utilization” (usable output from the intended part) separately from “secondary utilization” (usable material recovered from offcuts for other parts). Combined recovery can be meaningfully higher than primary utilization alone suggests, but only if the operation actually has downstream demand for the offcut geometries.
The Cost Math Procurement Needs to See
Utilization rate expressed as a percentage is not directly comparable across grades, because grade cost varies by an order of magnitude between general-purpose and high-end isostatic material. The comparison procurement needs is dollar loss per finished part, not percentage loss per block.
Worked example — hypothetical numbers to show the arithmetic, not empirical benchmarks. Two graphite grades, same target part, same cutting operation:
- Grade A: general-purpose, low unit cost, high utilization
- Grade B: high-end isostatic, high unit cost, moderate utilization
If Grade B costs several times more per kilogram than Grade A, a 5-percentage-point utilization improvement on Grade B saves several times more dollars per part than the same improvement on Grade A. If the operation runs at volume, that difference compounds into a real annual budget number — enough to justify significant process investment in kerf reduction, monitoring, or wire quality on the high-value grade.
This is the reason graphite material utilization rate matters most on the highest-value grades, and why procurement pressure on utilization should be weighted by grade value, not applied uniformly. Chasing marginal utilization gains on the cheapest grade is often a distraction. The same effort applied to the most expensive grade is where the money is.
For a general view of material loss economics across cutting and machining alternatives, see 흑연 가공 시 재료 손실.
현실적인 활용 목표는 어떻게 보이나요?
등급과 형상에 적용되는 단일 목표는 없으며, 공급업체가 제시하는 특정 백분율은 입력, 출력 및 QC 거부를 정의하는 방식과 비교하여 확인해야 합니다.
올바른 출발점은 목표 백분율이 아니라 특정 작업에 대한 기본 원칙 계산입니다. 실제로 실행될 공정의 부품 두께, 블록 치수 및 절단 폭을 고려하면 최대 이론적 활용도를 직접 계산할 수 있습니다. 실제 활용도는 트리밍, 재작업 및 취급 손실로 인해 이론적 상한선보다 낮을 것입니다. 이론적 최대치와 실제 제공치 간의 격차는 공정 제어가 결정하는 것입니다.
공급업체가 이론적 상한선보다 훨씬 높은 활용도를 보고하는 경우, 정의에 오류가 있는 것입니다. 일반적으로 입력 측에서 트리밍이 제외됩니다. 공급업체가 이론적 상한선보다 훨씬 낮은 활용도를 보고하는 경우, 공정 제어 문제는 절단 폭보다는 장력 드리프트, 공구 마모 관리 또는 치수 모니터링일 가능성이 높습니다. 구성 전반에 걸친 기본 기대치에 대한 공정 특성을 참조하십시오. 정밀 흑연 슬라이싱 에서 구성 전반에 걸친 기본 기대치를 참조하십시오.
때로는 올바른 해결책은 더 나은 절단 공정이 아니라 다른 등급 선택 또는 다른 부품 형상입니다. 기본 원칙 계산에서 본질적으로 낮은 활용도를 보이는 등급과 형상은 공급업체 압력을 통해 높이려고 해서는 안 됩니다. 사양 단계에서 재고해야 합니다.
조달에서 활용도 때문에 흔히 돈을 잃는 곳
세 가지 반복되는 패턴은 운영에 재료 마진을 손실시키며, 모두 절단 현장 이전 단계에서 이루어진 결정입니다.
그것을 요구하지 않는 부품에 대해 최고 등급의 재료를 지정합니다. 범용에서 프리미엄 등방성으로의 등급 업그레이드는 재료 비용의 몇 배가 될 수 있습니다. 완성된 부품이 등방성 미세 구조를 요구하지 않는 경우, 해당 비용은 블록이 구매되는 순간 회수되지 않은 활용도 손실입니다. 이것은 절단 문제가 아닙니다. 사양 문제이며, 일반적으로 조달보다는 엔지니어링에서 발생합니다.
절단 레이아웃과 일치하지 않는 블록 크기를 주문합니다. 표준 블록 치수와 목표 부품 치수가 항상 깔끔하게 맞춰지는 것은 아닙니다. 의도한 절단 계획보다 상당히 높거나 넓은 블록을 주문하면 절단이 시작되기 전에 작업에 낭비가 발생합니다. 일부 공급업체는 다운스트림 절단 계획과 일치하는 맞춤형 블록을 제공합니다. 추가 공급업체 비용은 특히 프리미엄 등급의 경우 피할 수 있는 재료 손실보다 적은 경우가 많습니다.
공급업체를 단위 가격 기준으로 비교하고 납품된 부품 비용 기준으로 비교하지 않습니다. 더 낮은 블록 가격과 더 낮은 활용도를 가진 공급업체는 완성된 부품당 더 높은 순 비용을 제공합니다. 입력의 단위 가격은 추적하지만 출력 부품당 납품 비용은 추적하지 않는 조달 시스템은 잘못된 숫자를 최적화합니다. 이것은 프리미엄 흑연 운영이 손실이 운영 라인에 나타나고 재료 라인에는 나타나지 않기 때문에 알지 못한 채 마진을 잃는 가장 흔한 방법 중 하나입니다.
흑연 절단 비용 스택에서 가장 비싼 제어 가능한 변수가 절단 폭인 이유에 대한 기둥 수준 보기는 다음을 참조하십시오. low-kerf graphite cutting. 재료 수준에서 활용도에 영향을 미치는 등급별 특성은 다음에서 문서화됩니다. SGL 카본의 특수 흑연 카탈로그 그리고 토요 탄소의 재료 데이터 시트, 이는 조달에서 등급 선택을 실제 애플리케이션 요구 사항과 비교하는 데 사용할 수 있는 참조 지점입니다.
자주 묻는 질문
흑연 재료 활용률은 어떻게 계산됩니까?
사용 가능한 출력 대 입력의 비율이며 백분율로 표시됩니다. 복잡한 점은 “사용 가능한 출력”과 “입력”이 공급업체마다 다르게 정의된다는 것입니다. 일부는 사전 절단 트리밍을 입력 측에서 제외합니다. 일부는 QC 통과 출하 출력 대신 절단 출력을 보고합니다. 견적을 비교할 때 결론을 내리기 전에 계산을 동일한 기준으로 강제 적용하십시오. 일반적으로 전체 입력 블록 질량 대비 출하 출력입니다.
좋은 흑연 재료 활용률은 무엇입니까?
보편적인 목표는 없습니다. 올바른 벤치마크는 특정 부품 두께, 블록 치수 및 절단 폭에 대한 이론적 최대치에서 트리밍, 재작업 및 취급에 대한 현실적인 허용치를 뺀 값입니다. 해당 이론적 상한선에 대한 참조 없이 제시된 백분율은 평가하기 어렵습니다. 트리밍을 제외하는 높은 백분율은 더 엄격한 정의에 따른 낮은 백분율보다 실제 용어로 더 나쁠 수 있습니다.
얇은 부품의 활용률이 낮은 이유는 무엇입니까?
절단 손실은 절단당 고정 비용이며, 얇은 부품은 단위 출력당 더 많은 절단이 필요하기 때문입니다. 100mm 높이의 블록을 5mm 부품으로 슬라이스하려면 19번의 절단이 필요합니다. 동일한 블록을 20mm 부품으로 슬라이스하려면 4번의 절단이 필요합니다. 1mm 절단 폭의 경우, 이는 얇은 부품 실행에서 절단으로 인한 블록 높이의 19% 손실 대 두꺼운 부품 실행에서 4% 손실입니다. 이는 다른 손실이 발생하기 전입니다. 이것은 산술이며 공정 품질이 아닙니다.
얇은 절단 슬라이싱이 항상 활용도를 향상시킵니까?
아니요. 얇은 절단 슬라이싱이 작동하는 등급 및 형상의 경우 이득은 실질적입니다. 거친 입자 등급, 깊은 블록 또는 공정 모니터링이 없는 작업의 경우, 얇은 절단 슬라이싱은 매개변수 민감도가 재작업 및 스크랩을 증가시키기 때문에 표준 절단보다 활용도가 낮을 수 있습니다. 생산 실행을 확정하기 전에 특정 등급 및 형상에 대한 초기 샘플 검증이 이득을 확인하는 올바른 방법입니다.
조달에서 모든 공급업체에 대해 더 높은 활용도를 요구해야 합니까?
등급 가치에 따라 가중치를 두면 예, 균일하게는 아니요. 프리미엄 등급의 활용도 개선은 저가 등급의 동일한 개선보다 훨씬 더 큰 달러 영향을 제공합니다. 가장 가치 있는 등급에 활용도 압력을 집중하는 것이 재료 예산이 이동하는 곳입니다. 저가 등급의 경우, 단위 가격 경쟁 및 배송 신뢰성이 일반적으로 한계 활용도 백분율보다 더 중요합니다.